How to Build a Drone: Your DIY Guide to Taking Flight
Drones have become more than just a hobby; they're now valuable tools for photography, videography, and even delivery services. While you can buy a drone off the shelf, building your own can be a rewarding and cost-effective way to get exactly what you want. In this guide, we'll walk you through the steps to build your very own drone.
1. Gather Your Tools and Parts
Before you start building, you'll need to gather the necessary tools and parts. Here's a basic list to get you started:
- Frame: This is the skeleton of your drone and will determine its size and shape
- Motors: Brushless motors are commonly used for drones due to their efficiency and power.
- Electronic Speed Controllers (ESCs): These control the speed of your motors.
- Flight Controller: This is the brain of your drone, stabilizing it during flight.
- Propellers: Choose propellers that match the size of your frame and motors.
- Battery: LiPo (Lithium Polymer) batteries are the most popular choice for drones.
- Radio Transmitter and Receiver: These are used to control your drone.
- Power Distribution Board (PDB): This board distributes power to all components.
- ESC/Battery Connectors: Make sure these match your ESCs and battery.
- Charger: You'll need a charger designed for LiPo batteries.
- Soldering Iron and Solder: You'll need these for connecting wires.
- Wires, Connectors, and Heat Shrink Tubing: Essential for wiring and insulation.
- Drone Kit or DIY Parts: You can purchase a drone kit or individual components.
2. Assemble the Frame
Start by assembling the frame according to the manufacturer's instructions. This will serve as the foundation for your drone. Make sure it's sturdy and all components fit securely.
3. Mount Motors and ESCs
Attach the motors to the arms of the frame. Connect the ESCs to the motors and secure them to the frame. Ensure the motor rotation matches the desired direction for flight.
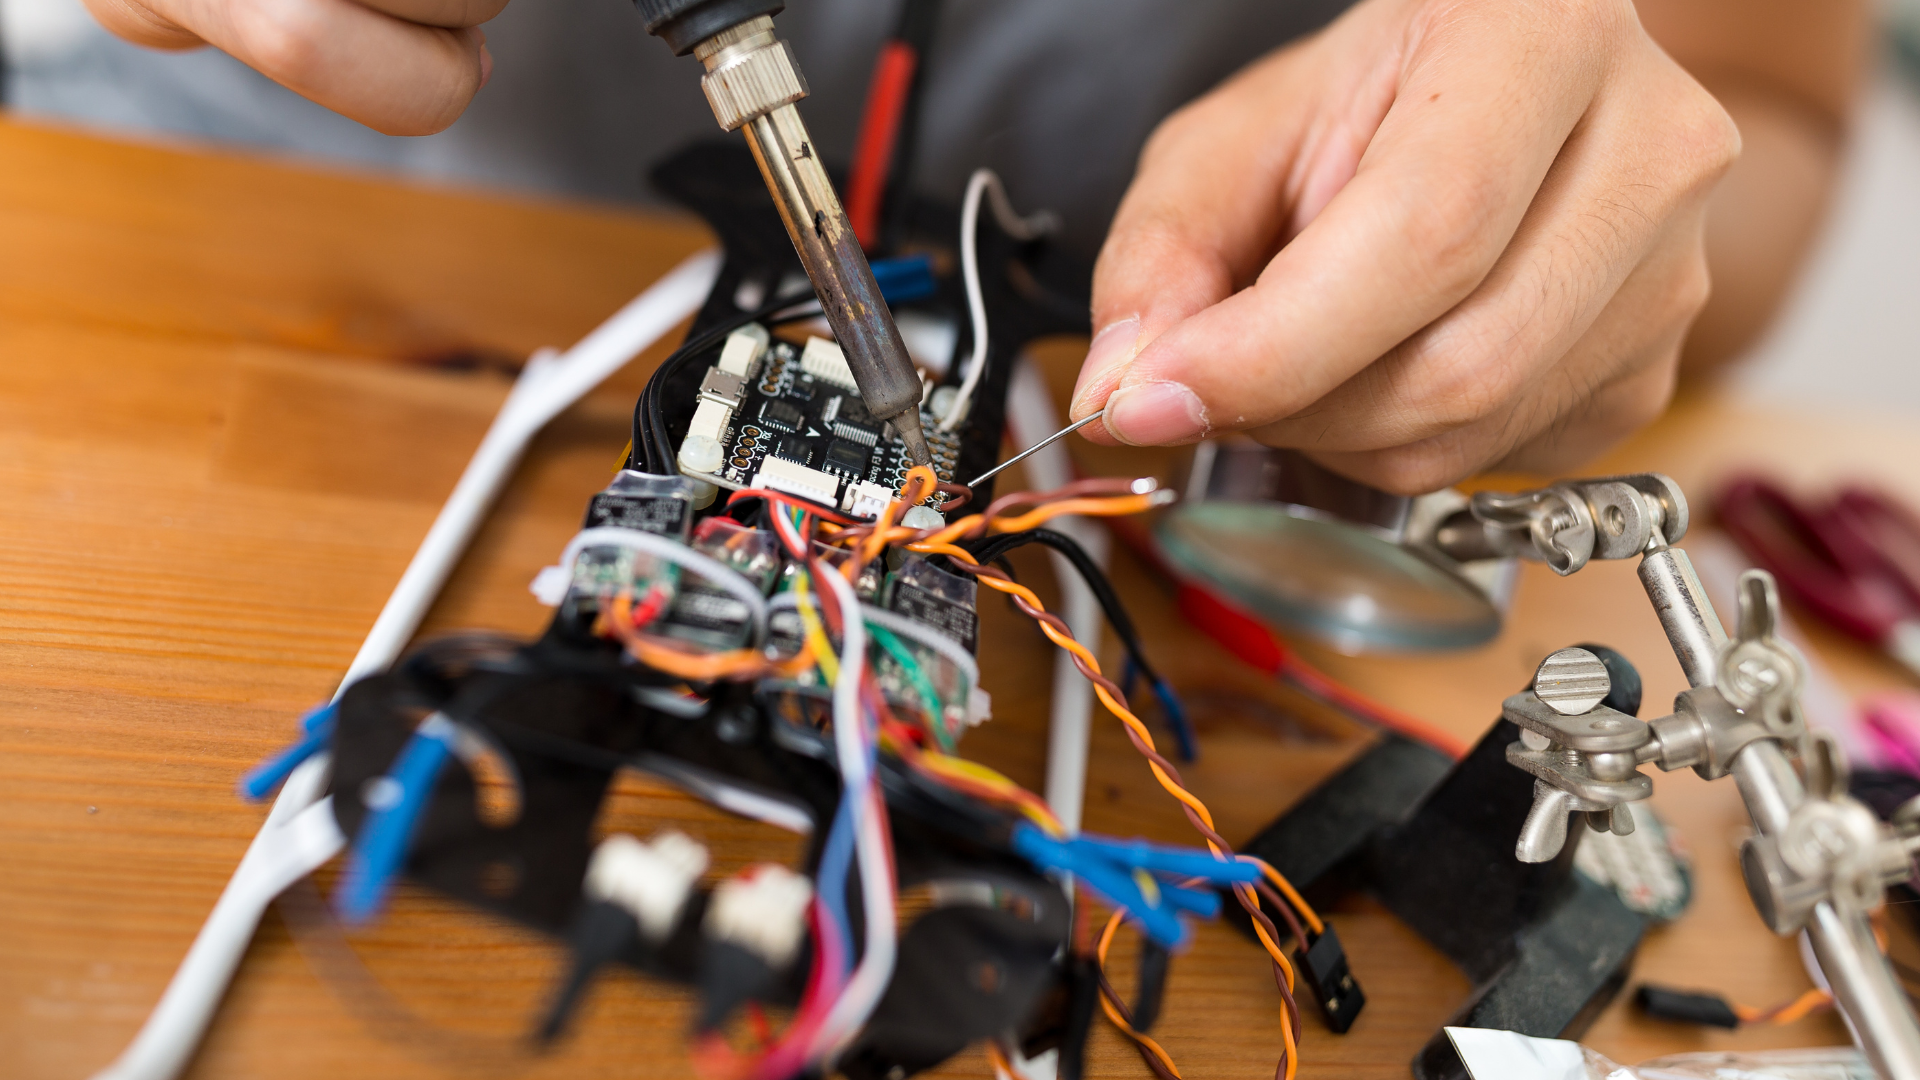
4. Install the Flight Controller
Mount the flight controller on the frame's center. Connect it to the ESCs, receiver, and power distribution board. You'll need to follow the specific wiring instructions for your flight controller model.
5. Attach the Propellers
Install the propellers on the motors, ensuring they're properly balanced and tightened. Make sure you use the right propellers for your drone's configuration.
6. Connect the Battery
Connect the LiPo battery to the power distribution board. Be cautious with battery connections, as LiPo batteries can be hazardous if mishandled.
7. Set Up the Radio Transmitter
Follow the instructions for your radio transmitter to bind it with the receiver. Configure the transmitter settings to your liking, including control sensitivity.
8. Calibrate and Test
Before your maiden flight, it's crucial to calibrate your drone. This involves ensuring the flight controller understands its orientation. Perform a pre-flight checklist to verify that all components are functioning correctly.
9. Safety First
When you're ready to take your drone for its first flight, choose an open and safe area, away from people and obstacles. Start with gentle maneuvers to get a feel for how your drone handles.
10. Learn and Improve
Building a drone is an excellent learning experience. As you become more comfortable with your creation, you can experiment with different configurations, add features like GPS or a camera, and fine-tune its performance.
Remember that drone regulations and guidelines vary by location, so always research and adhere to local laws when flying your DIY drone. Building your drone allows you to customize it to your specific needs, and it's a fantastic way to deepen your understanding of drone technology while having fun in the process. Happy flying!
Sponsors


